Let us label the image data using Label Studio.
Once you have installed the Label Studio tool using the pip command as given in the Technical requirements section, start Label Studio, go to the browser, and type in the following URL: http://localhost:8080/. As we have deployed Label Studio using the Python pip command, our Label Studio UI is running on the local system on port 8080. This is our Label Studio UI application, and we can access the same from the browser to label our data.
For this exercise, we are going to use the same bike riding image that we used in the Image data labeling using Azure Machine Learning section.
Here’s an overview of the steps for labeling images using Label Studio:
- Installation: Download and install Label Studio on your local machine or server. Follow the installation instructions provided by Label Studio.
- Initialization: Start the Label Studio application either through a command line or by using the provided interface.
- Account creation: Create user accounts within Label Studio to facilitate project management. These accounts will be used to oversee and organize labeling projects.
- Project setup: Define the labeling requirements for your dataset. Specify the type of labeling tasks needed (e.g., image classification or object detection) and configure project settings such as task distribution and completion criteria.
- Interface configuration: Customize the labeling interface according to your project’s needs. Add and define the labels that annotators will apply during the labeling process. Tailor the interface to ensure efficient and accurate annotations.
- Data import: Import your dataset into Label Studio as labeling tasks. This involves uploading images or linking to data sources to create a set of tasks for annotators.
- Labeling and annotation: Annotators use the configured interface to label and annotate the images according to the defined tasks. The labeling process involves applying the specified labels to regions or objects within the images.
- Export the labeled data: Once labeling is complete, export the labeled data or annotations. Depending on your needs, you may export the data in various formats suitable for further analysis or integration with other tools and platforms.
By following these steps, you can effectively use Label Studio to manage and execute image labeling projects. Let’s see a few important steps next.
Creating a new project
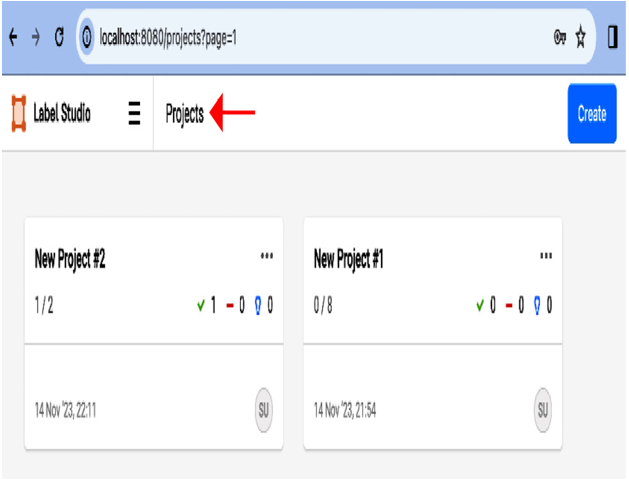
First, go to Projects to create a new project using the Label Studio UI as follows:

Figure 12.30 – Label Studio
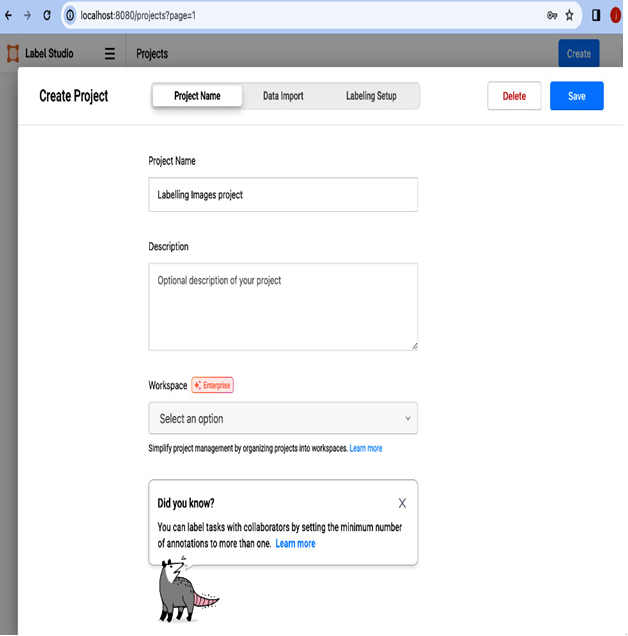
Enter the project name:

Figure 12.31 – Entering the project name
After you create a project, import data into Label Studio. You can import many types of data, including text, time series, audio, and image data. The file types supported depend on the type of data. Now, select the label template for labeling the dataset.
